Installing roller blinds might seem daunting, but with the right tools and a bit of patience, you can achieve a professional finish. This guide will walk you through every step of the process, ensuring your windows look fantastic and function perfectly. Whether you’re a seasoned DIY enthusiast or a complete beginner, you’ll find everything you need to know right here. Let’s get started!
What You’ll Need for Your Roller Blind Install
Before you begin, gather all the necessary tools and materials. This will save you time and frustration later on.
- Roller blind kit (including brackets, roller tube, fabric, and fixings)
- Measuring tape
- Pencil
- Spirit level
- Drill (with appropriate drill bits for your wall type)
- Screwdriver
- Wall plugs (if drilling into masonry)
- Safety glasses
Step 1: Precise Measurements are Key
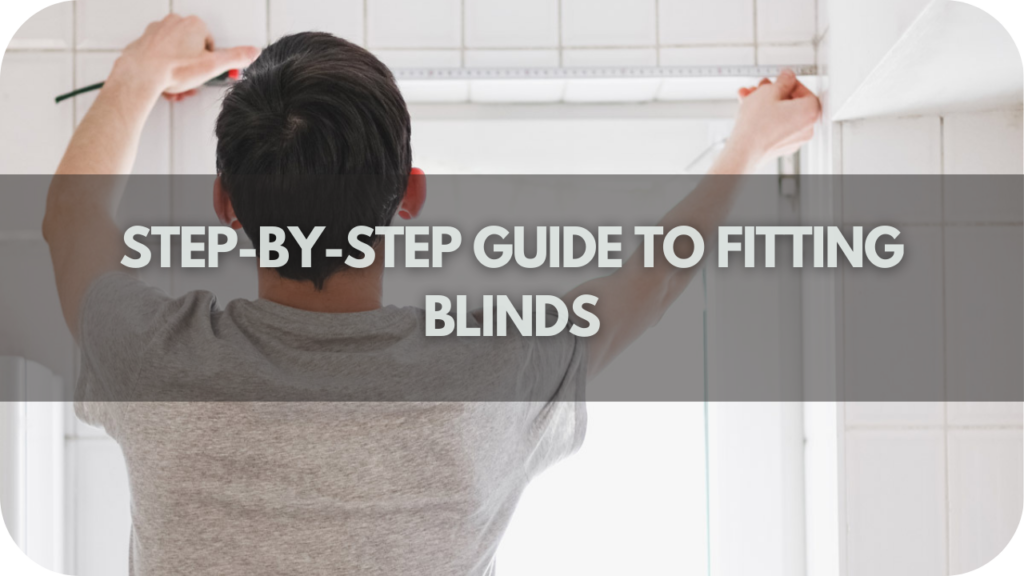
Accurate measurements are crucial for a successful roller blind install. Measure the width and drop of your window recess. Decide whether you want the blind to fit inside the recess or outside it. If you’re fitting outside, add a few extra centimeters to the width and drop to ensure full coverage.
Important Note: Double-check your measurements to avoid costly mistakes. Measure twice, cut once!
Step 2: Marking the Bracket Positions

Hold the brackets up to the window recess or wall, and mark the positions for the screw holes with a pencil. Use a spirit level to ensure the brackets are perfectly horizontal. This step is crucial for the blind to hang straight.
Tip: If you’re installing multiple blinds, use a laser level to ensure all brackets are aligned.
Step 3: Drilling and Fixing the Brackets
Using your drill, create pilot holes at the marked positions. If you’re drilling into masonry, insert wall plugs before screwing in the brackets. Securely fasten the brackets to the wall or recess. Make sure they are firmly attached and can support the weight of the blind.
Safety First: Always wear safety glasses when drilling to protect your eyes from dust and debris.
Step 4: Installing the Roller Blind
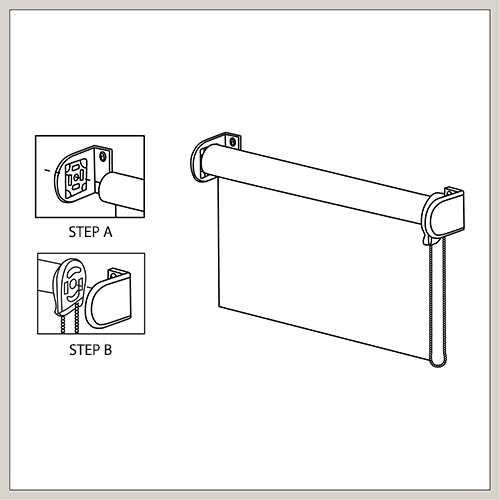
Now, it’s time to install the roller blind. Most roller blinds have a spring-loaded mechanism on one end. Slot this end into the corresponding bracket. Then, push the other end into the opposite bracket until it clicks into place. Gently pull the blind down to test the mechanism. It should roll smoothly and evenly.

Pro Tip: If the blind is too tight or too loose, check the instructions for adjusting the spring mechanism.
Step 5: Final Adjustments and Testing
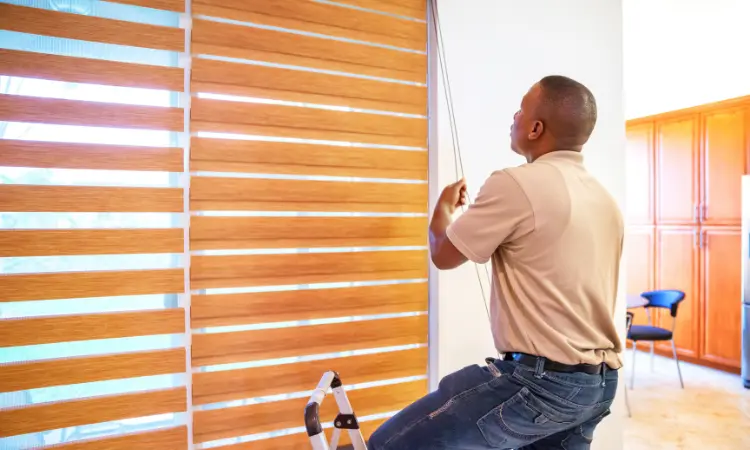
Once the blind is installed, test it thoroughly. Pull the blind down and up several times to ensure it operates smoothly. Check that the blind hangs straight and covers the window evenly. Make any necessary adjustments to the brackets or the roller mechanism.
Troubleshooting: If the blind is not rolling straight, double-check that the brackets are level and the roller tube is properly seated.
Maintaining Your Roller Blinds
To keep your roller blinds looking their best, regularly dust them with a soft cloth or vacuum with a brush attachment. For stubborn stains, gently wipe with a damp cloth and mild detergent. Avoid using harsh chemicals or abrasive cleaners.
Why Choose Roller Blinds?
Roller blinds offer a sleek and modern look, making them a popular choice for any home. They are easy to install, maintain, and provide excellent light control and privacy. With a wide range of fabrics and designs available, you can find the perfect roller blind to complement your décor.

Benefits of Roller Blinds:
- Simple and easy to install
- Provide excellent light control
- Offer privacy
- Wide range of styles and fabrics
- Easy to maintain
Conclusion
Installing roller blinds is a rewarding DIY project that can enhance the look and functionality of your windows. By following these step-by-step instructions, you can achieve a professional finish and enjoy the benefits of stylish and practical window coverings. Remember, precision and patience are key to a successful roller blind install. Happy installing!


