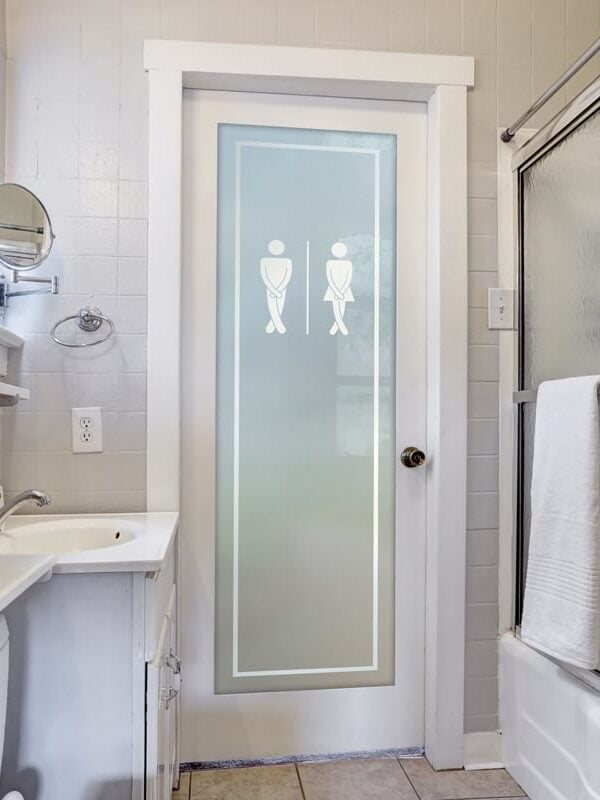
Installing a bathroom door might seem daunting, but with the right tools and a step-by-step guide, it’s a project you can confidently tackle yourself. This guide will walk you through the entire process, from initial measurements to the final touches, ensuring a perfect fit and a professional finish. Let’s get started!
Why DIY Bathroom Door Installation?
Before diving into the how-to, let’s explore why installing your own bathroom door can be beneficial:
- Cost-effectiveness: Save on labor costs by doing it yourself.
- Personal satisfaction: Enjoy the pride of completing a home improvement project.
- Customization: Ensure the door fits perfectly and matches your desired style.
- Skill development: Learn valuable DIY skills for future projects.
Tools and Materials You’ll Need
Having the right tools and materials is crucial for a smooth installation:
- New bathroom door: Choose a door that fits your opening and style preferences.
- Measuring tape: For accurate measurements.
- Level: To ensure the door hangs straight.
- Pencil: For marking measurements.
- Drill and drill bits: For pilot holes and installing screws.
- Screwdrivers: Both Phillips and flathead.
- Chisel and hammer: For mortising hinges.
- Wood shims: For leveling and securing the door.
- Hinges: Typically two or three, depending on the door’s weight.
- Door knob and latch: Choose a set that matches your style.
- Wood filler: For filling any gaps or imperfections.
- Sandpaper: For smoothing surfaces.
- Paint or stain: To finish the door.
- Safety glasses and gloves: For protection.
Step-by-Step Guide to Installing Your Bathroom Door
1. Measuring the Door Opening

Accurate measurements are essential for a perfect fit. Here’s how to measure:
- Measure the width: Measure the width of the door opening at the top, middle, and bottom. Use the narrowest measurement.
- Measure the height: Measure the height of the opening from the floor to the top of the door frame on both sides. Use the shorter measurement.
- Measure the thickness: Measure the thickness of the existing door or the opening to ensure the new door fits.
2. Preparing the Door and Frame
Before hanging the door, you need to prepare both the door and the frame:
- Check the door size: Ensure the new door matches the measurements you took.
- Prepare the frame: Clean the frame and remove any debris. Check for any damage and repair as needed.
- Mark hinge locations: Mark the hinge locations on both the door and the frame, ensuring they align.
3. Mortising the Hinges
Mortising involves creating recesses for the hinges to sit flush with the door and frame:
- Trace the hinges: Place the hinges on the marked locations and trace their outline with a pencil.
- Cut the mortises: Use a chisel and hammer to carefully cut out the wood within the traced lines. The depth should match the thickness of the hinge.
- Test the fit: Place the hinges in the mortises to ensure they sit flush.

4. Hanging the Door
Now, it’s time to hang the door:
- Attach the hinges to the door: Screw the hinges onto the door within the mortises.
- Position the door: Carefully lift the door and align the hinges with the frame.
- Attach the hinges to the frame: Screw the hinges onto the frame, ensuring the door hangs straight. Use a level to check.
- Adjust as needed: Use wood shims to adjust the door’s position and ensure it swings smoothly.
5. Installing the Door Knob and Latch
Installing the door knob and latch is essential for functionality:
- Mark the locations: Follow the manufacturer’s instructions to mark the locations for the door knob and latch.
- Drill the holes: Use a hole saw to drill the necessary holes.
- Install the latch: Insert the latch into the hole on the door’s edge and secure it with screws.
- Install the door knob: Attach the door knob handles and secure them according to the instructions.
- Install the strike plate: Install the strike plate on the frame, ensuring it aligns with the latch.

6. Finishing Touches
Complete the installation with these finishing touches:
- Fill any gaps: Use wood filler to fill any gaps or imperfections.
- Sand the surface: Sand the filled areas and any rough spots for a smooth finish.
- Paint or stain: Apply paint or stain to the door and frame, matching your desired style.
- Test the door: Ensure the door swings smoothly and the latch engages properly.
Tips for a Perfect Installation
- Double-check measurements: Accuracy is key to a perfect fit.
- Use a level: Ensure the door hangs straight and swings smoothly.
- Take your time: Rushing can lead to mistakes.
- Ask for help: If needed, ask a friend or family member for assistance.
- Watch instructional videos: Visual aids can be helpful for complex steps.
By following these steps and tips, you can confidently install your bathroom door and achieve a professional finish. Good luck!


