Transforming your home with new roller blinds can dramatically improve both the aesthetics and functionality of your windows. But where do you start? Don’t worry, installing roller blinds is a straightforward DIY project that anyone can tackle with the right tools and guidance. This comprehensive guide will walk you through every step, ensuring a flawless installation.
Why Choose Roller Blinds?
Before diving into the installation process, let’s explore why roller blinds are a popular choice:
- Simplicity: Their minimalist design complements any decor.
- Versatility: Available in a wide range of fabrics, colors, and patterns.
- Light Control: From sheer to blackout, you can customize light filtration.
- Ease of Use: Simple operation with a chain or spring mechanism.
- Affordability: A cost-effective window treatment solution.
Tools and Materials You’ll Need
Gathering the necessary tools and materials beforehand will make the installation process smoother:
- Roller blinds (with all included hardware)
- Measuring tape
- Pencil
- Drill and drill bits
- Screwdriver (Phillips or flathead, depending on the screws provided)
- Spirit level
- Safety glasses
- Stud finder (optional, but recommended for drywall installations)

Step-by-Step Installation Guide
1. Measuring Your Windows
Accurate measurements are crucial for a perfect fit. Measure the width and height of your window recess. If you’re installing the blinds outside the recess, measure the desired width and height, ensuring you have enough overlap for privacy and light blockage.
2. Preparing the Mounting Surface
Determine whether you’ll be mounting the blinds inside or outside the window recess. For inside mounts, ensure the recess is clean and free of obstructions. For outside mounts, mark the desired location on the wall.
3. Marking the Bracket Positions
Hold the brackets against the mounting surface and mark the screw hole positions with a pencil. Use a spirit level to ensure the brackets are aligned horizontally. For outside mounts, make sure the marks are equidistant from the window frame.
4. Drilling Pilot Holes

Using a drill and appropriate drill bit, drill pilot holes at the marked positions. If you’re drilling into drywall, use wall anchors for added support. If you find a stud using a stud finder, drill straight into the stud.
5. Attaching the Brackets
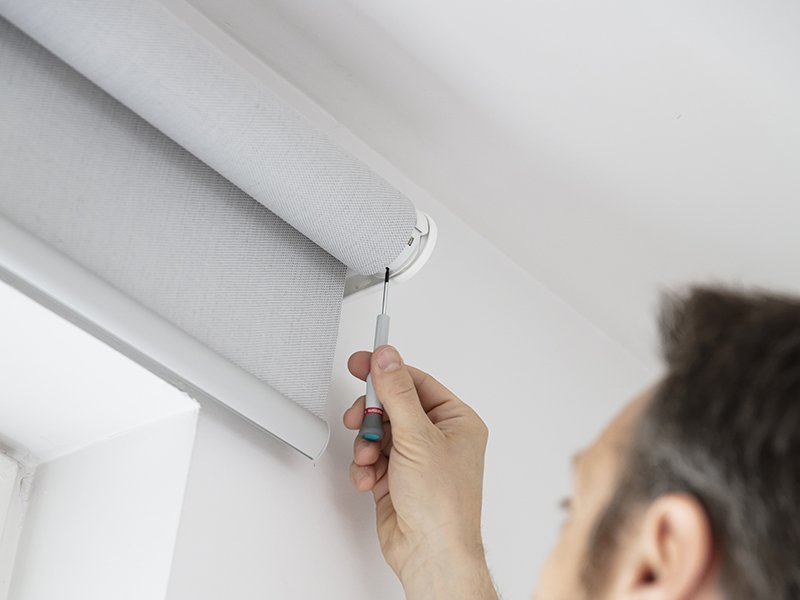
Secure the brackets to the mounting surface using the provided screws. Make sure they are firmly attached and level. Double check that they are very securely fastened. This step is vital to the longevity of your window treatment.
6. Installing the Roller Blind
Insert the roller blind into the brackets. Most roller blinds have a spring-loaded end that you can compress to fit into the bracket. Once in place, test the blind by pulling the chain or cord to ensure it operates smoothly. If you have a spring loaded roller blind, pull it down slightly to allow it to engage with the mechanism.
7. Adjusting the Blind (If Necessary)
If the blind is not level or doesn’t roll up or down smoothly, remove it and adjust the brackets accordingly. Ensure that the chain or cord is properly aligned and that the blind rolls evenly. It is important to have a smooth rolling blind.
8. Final Checks
Once the blind is installed, perform a final check to ensure everything is working correctly. Roll the blind up and down several times to check for smooth operation and proper alignment.
Tips for a Professional Finish

- Double-check measurements: Always measure twice to avoid errors.
- Use a spirit level: Ensure your blinds are perfectly level for a polished look.
- Choose the right drill bits: Use appropriate drill bits for the mounting surface.
- Don’t overtighten screws: Overtightening can damage the brackets or mounting surface.
- Clean up: Wipe down the blinds and surrounding area after installation.
- Use high quality rollers: The quality of the rollers within the blind will greatly impact its lifespan.
- Consider a motorized option: For hard to reach windows, a motorized option is a fantastic upgrade.
Maintaining Your Roller Blinds
Regular maintenance will keep your roller blinds looking and functioning their best:
- Dust regularly: Use a soft cloth or duster to remove dust and debris.
- Spot clean stains: Use a mild detergent and damp cloth to spot clean stains.
- Avoid harsh chemicals: Do not use bleach or other harsh chemicals, as they can damage the fabric.
- Check mechanisms: Periodically check the chain or cord mechanism for wear and tear.
By following these steps, you can successfully install roller blinds and enhance the beauty and functionality of your windows. Enjoy your newly transformed space!


