Is your window sill showing signs of wear and tear? Or perhaps you’re simply looking to upgrade the aesthetic of your windows? Installing a new window sill is a fantastic DIY project that can significantly enhance the look and functionality of your home. This guide will walk you through the entire process, from removing the old sill to adding the finishing touches, ensuring you achieve professional-looking results.
Why Replace Your Window Sill?
Before diving into the how-to, let’s understand why replacing your window sill might be necessary:
- Water Damage: Over time, water can seep into the wood, causing rot and decay.
- Aesthetic Upgrade: A new sill can refresh the look of your windows and room.
- Structural Integrity: Damaged sills can compromise the window’s structural support.
- Improved Insulation: A properly installed sill can help prevent drafts and improve energy efficiency.
Tools and Materials You’ll Need
To ensure a smooth installation process, gather the following tools and materials:
- New Window Sill: Choose a material that matches your existing window and style (wood, PVC, etc.).
- Pry Bar or Putty Knife: For removing the old sill.
- Measuring Tape: To accurately measure the window opening.
- Level: To ensure the new sill is perfectly horizontal.
- Caulk Gun and Caulk: For sealing gaps and preventing water damage.
- Wood Filler (if using wood): To fill any imperfections.
- Sandpaper: For smoothing surfaces.
- Paint or Stain: To finish the new sill.
- Hammer or Mallet: For gentle tapping.
- Safety Glasses and Gloves: For protection.
- Screws and Drill: For securing the sill.

Step-by-Step Installation Guide
1. Removing the Old Window Sill
Start by carefully removing the old window sill. Use a pry bar or putty knife to gently lift the sill, working from one end to the other. Be cautious not to damage the surrounding window frame or wall. If the old sill is nailed or screwed in, use a screwdriver or drill to remove the fasteners.
2. Preparing the Opening

Once the old sill is removed, clean the opening thoroughly. Remove any debris, old caulk, or nails. Inspect the surrounding frame for damage and make any necessary repairs. Ensure the surface is clean and smooth for the new sill.
3. Measuring and Cutting the New Sill
Accurately measure the width and depth of the window opening. Transfer these measurements to your new window sill. Use a saw to cut the sill to the correct size. Double-check your measurements before cutting to avoid costly mistakes. If you are using wood, make sure to sand the cut edges for a smooth finish.
4. Installing the New Sill
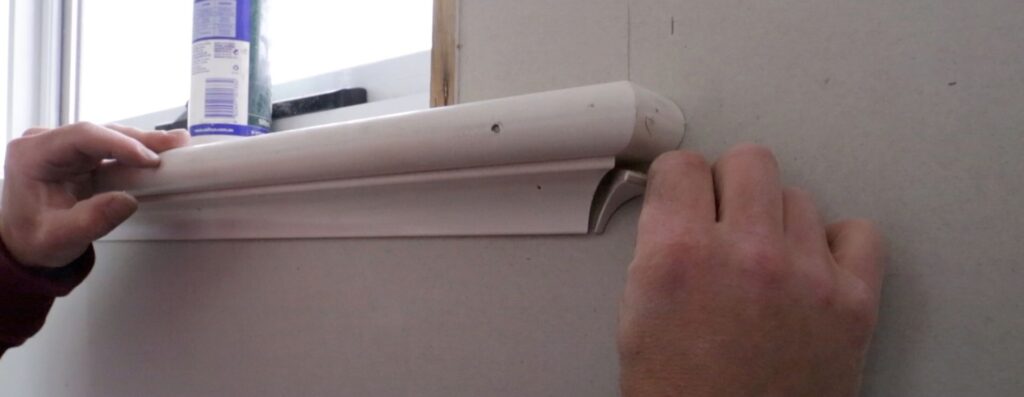
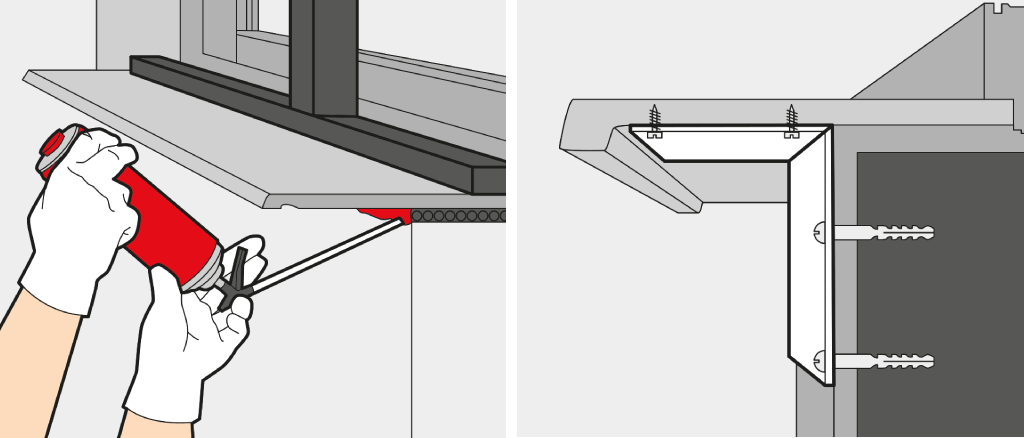
Place the new window sill into the opening. Ensure it fits snugly and is level. Use a level to check the horizontal alignment. If necessary, use shims to adjust the height and ensure a perfect fit. Once the sill is properly positioned, secure it with screws or nails. Pre-drill pilot holes to prevent the wood from splitting. If you are using a material other than wood, follow the instructions provided by the manufacturer.
5. Finishing Touches

If you are using a wood sill, fill any nail holes or imperfections with wood filler. Once the filler is dry, sand it smooth. Apply a coat of primer and then paint or stain the sill to match your existing trim. Allow the paint or stain to dry completely before moving on to the next step. Apply a bead of caulk along the edges of the sill where it meets the window frame and wall. This will create a watertight seal and prevent drafts. Smooth the caulk with your finger or a caulk tool for a clean finish.
Tips for a Perfect Installation
- Measure Twice, Cut Once: Accurate measurements are crucial for a perfect fit.
- Use Quality Materials: Invest in a durable window sill that will withstand the elements.
- Take Your Time: Rushing the installation can lead to mistakes.
- Seal Properly: Ensure all gaps are sealed with caulk to prevent water damage.
- Follow Manufacturer’s Instructions: If using a specific type of sill, refer to the manufacturer’s guidelines.
By following these steps, you can successfully install a new window sill and enhance the beauty and functionality of your home. Remember to prioritize safety and take your time to achieve the best results. Happy installing!


