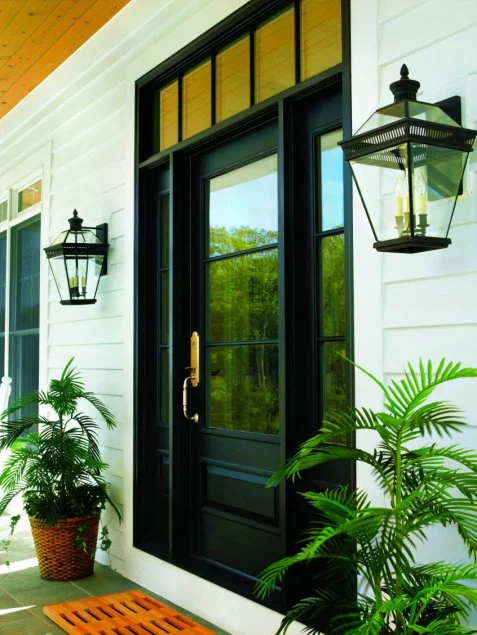
Installing a new door can dramatically improve the aesthetics and functionality of your home. Whether you’re replacing an old, worn-out door or adding a new one, this guide will walk you through the entire process. We’ll cover everything from measuring and selecting the right door to the final installation steps.
Why Install a New Door?
There are many reasons why you might want to install a new door. Perhaps you’re looking to enhance your home’s curb appeal, improve energy efficiency, or increase security. Whatever your reason, a new door can make a significant difference.
- Enhanced Security: A sturdy, well-installed door provides better protection against intruders.
- Improved Energy Efficiency: Modern doors often come with better insulation, helping to regulate your home’s temperature.
- Increased Property Value: Upgrading your doors can boost your home’s overall value.
- Aesthetic Appeal: A new door can dramatically change the look and feel of your home.
Tools and Materials You’ll Need
Before you begin, gather the necessary tools and materials. Here’s a comprehensive list:
- New door (pre-hung or slab)
- Measuring tape
- Level
- Pencil
- Drill and drill bits
- Screws
- Hammer
- Wood shims
- Nails
- Caulk
- Safety glasses
- Work gloves

Step-by-Step Installation Guide
1. Measuring the Door Opening
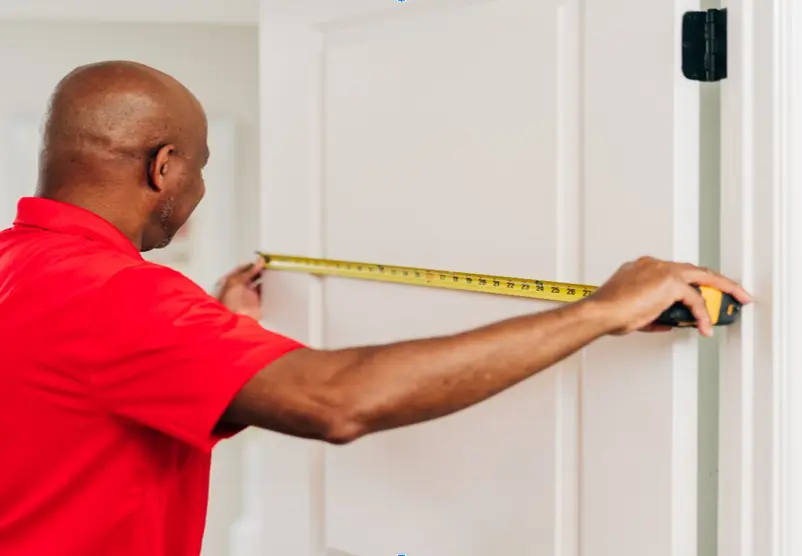
Accurate measurements are crucial for a successful installation. Use a measuring tape to measure the width and height of the existing door opening. Measure from the inside of the frame. It is very important to make sure that the opening is square. If it is not, then you will have to make adjustments.
2. Selecting the Right Door

Choose a door that fits your measurements and complements your home’s style. You’ll need to decide between a pre-hung door (which includes the frame) and a door slab (which requires a separate frame). If you are new to this, then a pre-hung door is much easier to install.
3. Removing the Old Door
If you’re replacing an existing door, carefully remove it. Start by removing the hinges. Use a screwdriver or drill to detach the door from the frame. If you are removing a pre-hung door, remove the entire frame.
4. Preparing the Opening
Clean the door opening and ensure it’s free of debris. Check for any damage to the frame and make necessary repairs. Make sure the opening is level and plumb.
5. Installing the New Door
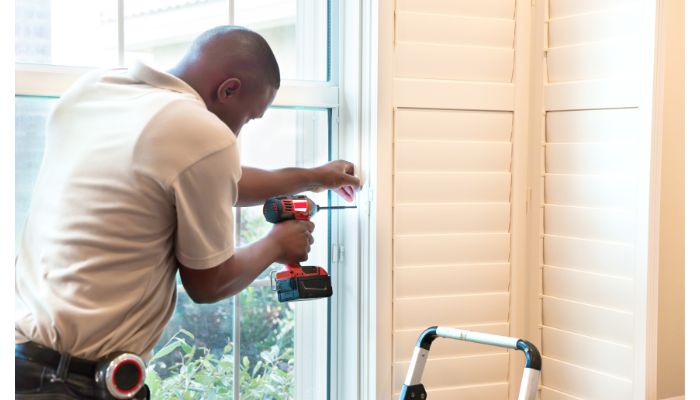
If you’re installing a pre-hung door, carefully position the frame into the opening. Use wood shims to level and plumb the frame. Secure the frame with screws. If you’re installing a door slab, attach the hinges to the door and then to the frame. Make sure the door swings smoothly.
6. Installing the Hardware

Install the doorknob, lockset, and any other hardware according to the manufacturer’s instructions. Ensure all hardware is properly aligned and functioning.
7. Finishing Touches
Apply caulk around the door frame to seal any gaps. This will help prevent drafts and moisture. Install any necessary trim or molding. Clean up any debris and test the door to ensure it opens and closes smoothly. Double check that all screws are tight.
Tips for a Successful Installation
- Double-check your measurements: Accuracy is key to a proper fit.
- Use quality materials: Invest in a durable door and reliable hardware.
- Take your time: Rushing the installation can lead to mistakes.
- Ask for help: If you’re unsure about any step, don’t hesitate to seek assistance from a professional.
By following these steps, you can successfully install a new door and enhance the beauty and functionality of your home. Remember to prioritize safety and take your time to ensure a professional-looking result. Good luck!
