Transforming your home with new blinds can dramatically enhance both its aesthetic appeal and functionality. But tackling the task of home blind installation can seem daunting. Fear not! This comprehensive guide will walk you through every step, ensuring a smooth and successful project. Whether you’re a seasoned DIY enthusiast or a complete beginner, we’ve got you covered.
Why Proper Blind Installation Matters
Before we jump into the how-to, let’s discuss why meticulous installation is crucial. Properly installed blinds offer numerous benefits:
- Enhanced Privacy: Secure and correctly fitted blinds prevent unwanted views into your home.
- Optimal Light Control: Achieve the perfect balance of natural light by adjusting your blinds effortlessly.
- Energy Efficiency: Well-installed blinds can help regulate indoor temperatures, reducing heating and cooling costs.
- Aesthetic Appeal: Professionally installed blinds elevate the overall look of your windows and interior décor.
- Longevity: Proper installation ensures your blinds function correctly and last longer.
Tools and Materials You’ll Need
Having the right tools at your disposal is essential for a smooth installation process. Here’s a checklist:
- Measuring Tape: Accurate measurements are critical for a perfect fit.
- Pencil: For marking drilling points and measurements.
- Level: To ensure your blinds hang straight.
- Screwdriver or Power Drill: Depending on the type of blinds and your comfort level.
- Screws and Anchors: Appropriate for your wall type (drywall, wood, etc.).
- Stud Finder (Optional): For secure mounting on walls with studs.
- Safety Glasses: To protect your eyes from debris.
- The Blinds!

Step-by-Step Guide to Home Blind Installation
Now, let’s get to the heart of the matter – the installation itself. Follow these steps carefully for a flawless finish.
1. Measuring Your Windows
Accurate measurements are the foundation of a successful installation. Measure the width and height of your window opening. For inside mounts, measure the inside width at the top, middle, and bottom, and the inside height at the left, middle, and right. Use the smallest width and height measurements. For outside mounts, measure the outside width and height, adding a few inches for overlap.
2. Preparing the Mounting Surface
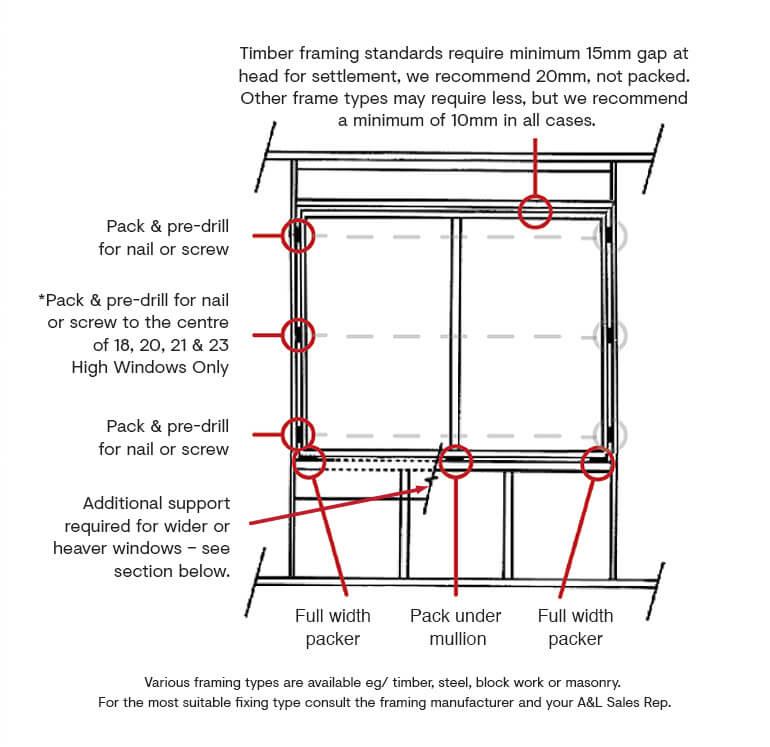
Clean the window frame or wall surface where you’ll be installing the blinds. Ensure it’s free from dust and debris. If you’re drilling into drywall, use anchors for added support. For wood frames, screws alone may suffice. If you find wall studs, using them for mounting is the strongest option.
3. Marking the Mounting Points
Hold the blind’s headrail (the top part) against the window frame or wall. Use a pencil to mark the screw locations. Use the level to ensure your marks are straight and even. Pre-drilling pilot holes can make screwing in the screws easier and prevent splitting the material.
4. Installing the Mounting Brackets

Attach the mounting brackets using the screws and anchors provided. Make sure they are securely fastened. Use the level again to confirm they are aligned correctly. Check the manufacturer’s instructions for the correct spacing and orientation of the brackets.
5. Attaching the Blinds
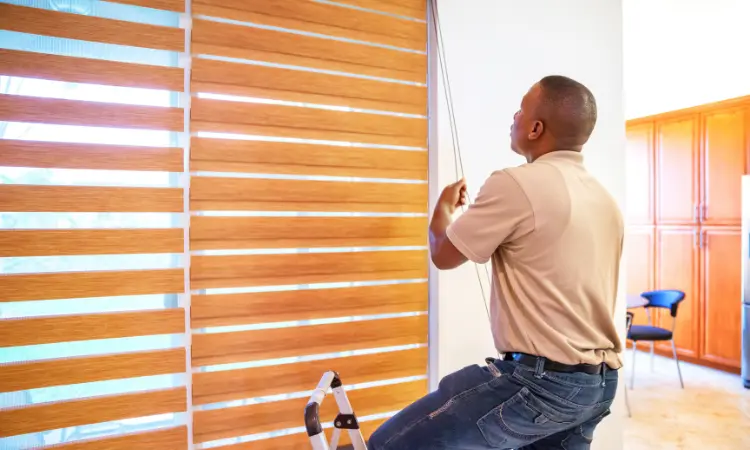
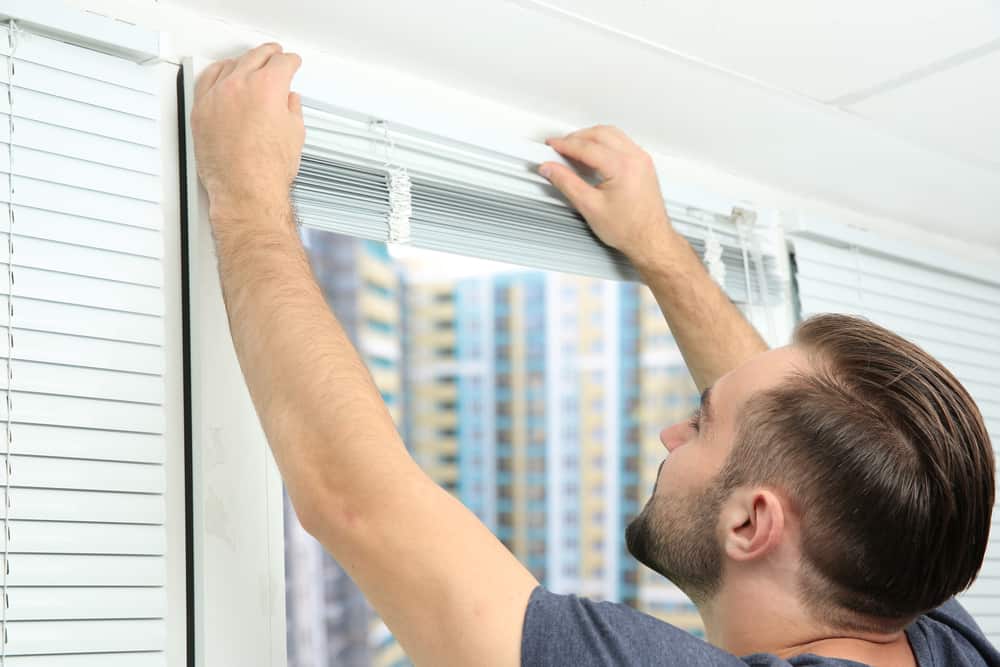
Slide the blind’s headrail into the mounting brackets. Ensure it clicks or locks into place securely. Test the blind’s operation by raising and lowering it, and adjusting the slats or vanes. Make any necessary adjustments to ensure smooth operation.
6. Final Adjustments and Cleanup
Double-check that the blinds are level and functioning correctly. Clean up any debris or tools. Step back and admire your handiwork! You’ve successfully completed your home blind installation.
Tips for Different Types of Blinds
Different blinds may require slightly different installation techniques. Here are a few tips:
- Roller Blinds: Ensure the roller mechanism is level and smoothly operates.
- Venetian Blinds: Pay attention to the spacing of the mounting brackets to ensure even weight distribution.
- Vertical Blinds: Properly align the track for smooth sliding.
- Pleated Blinds: Ensure the pleats hang evenly and the cords are properly tensioned.
Troubleshooting Common Issues
Even with careful planning, you might encounter a few hiccups. Here are some common issues and their solutions:
- Blinds are uneven: Recheck your measurements and mounting bracket alignment.
- Blinds won’t raise or lower smoothly: Check for obstructions or misaligned components.
- Screws won’t hold: Use larger anchors or find wall studs for stronger support.
When to Call a Professional
While DIY installation is rewarding, there are times when it’s best to call a professional. If you’re dealing with large or complex windows, specialty blinds, or have limited DIY experience, a professional installer can save you time, frustration, and potential damage. They can also provide expert advice on the best blind options for your home.
Conclusion
Home blind installation doesn’t have to be intimidating. By following these steps and taking your time, you can achieve professional-looking results. Remember, accurate measurements, proper tools, and attention to detail are key to a successful project. Enjoy your beautifully enhanced windows!

