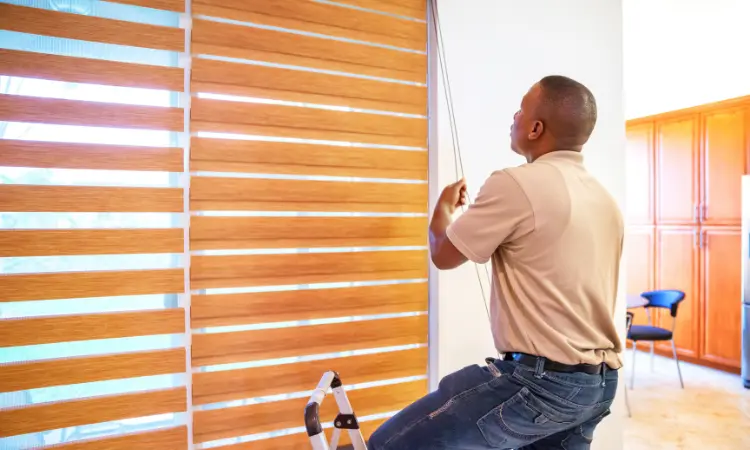
Transforming your home with new blinds shouldn’t be a daunting task. In fact, with the right tools and a little know-how, easy blind installation is absolutely achievable. This guide will walk you through the process, ensuring your windows look fantastic and function perfectly.
Why DIY Blind Installation?
Many homeowners opt for DIY blind installation to save money and gain a sense of accomplishment. Plus, it’s often quicker than waiting for a professional. By following our clear instructions, you can achieve professional-looking results without the professional price tag.
Tools You’ll Need
Before you begin, gather these essential tools:
- A measuring tape
- A pencil
- A level
- A power drill
- Screws and anchors (included with your blinds)
- A screwdriver (or drill bit)
- Safety glasses
Step-by-Step Installation Guide
1. Measure Your Windows

Accurate measurements are crucial for a perfect fit. Measure the width and height of the inside of your window frame. If you’re mounting outside the frame, measure the desired width and height, adding a few inches for overlap.
2. Mark the Bracket Locations
Hold the blind brackets up to the window frame, aligning them with your measurements. Use a pencil to mark the screw hole locations. Ensure the brackets are level for even blind hanging.
3. Pre-Drill Pilot Holes
Using your power drill, pre-drill pilot holes at the marked locations. This step is especially important for preventing wood from splitting and making screw installation easier. If you are drilling into drywall, make sure to use wall anchors.
4. Attach the Brackets
Secure the brackets to the window frame using the provided screws. Make sure they are firmly attached and level.
5. Install the Blinds
Carefully insert the headrail of the blinds into the installed brackets. Most blinds simply snap or slide into place. Ensure they are securely fastened.
6. Test the Blinds

Test the blinds by raising and lowering them. Check that they operate smoothly and are level. Make any necessary adjustments.
Tips for a Flawless Installation
- Double-check your measurements. Accuracy is key!
- Use a level. Ensuring your brackets are level will make a huge difference in the final appearance.
- Don’t overtighten screws. This can damage the window frame or brackets.
- Read the manufacturer’s instructions. Every blind type may have slightly different installation requirements.
- Have a helper. While not always necessary, an extra pair of hands can make the process easier.
Choosing the Right Blinds
Selecting the right blinds for your space is just as important as installing them correctly. Consider factors such as light control, privacy, and style. Common types include:
- Venetian blinds: Offer excellent light control and a classic look.
- Roller blinds: Simple and modern, ideal for minimalist decor.
- Vertical blinds: Perfect for large windows and sliding doors.
- Roman blinds: Add a touch of elegance with their soft, fabric folds.

Maintaining Your Blinds
Once your blinds are installed, regular maintenance will keep them looking their best. Dust them regularly with a soft cloth or vacuum with a brush attachment. For stubborn stains, use a damp cloth with mild soap.
Troubleshooting Common Issues
Even with careful installation, you might encounter a few issues. Here are some common problems and solutions:
- Blinds won’t raise or lower: Check for obstructions or tangled cords.
- Blinds are uneven: Recheck the bracket placement and ensure they are level.
- Screws won’t hold: Use wall anchors or longer screws for better support.
By following these steps and tips, you can achieve easy blind installation and enjoy perfectly dressed windows. Remember, patience and attention to detail are your best allies. Happy installing!


