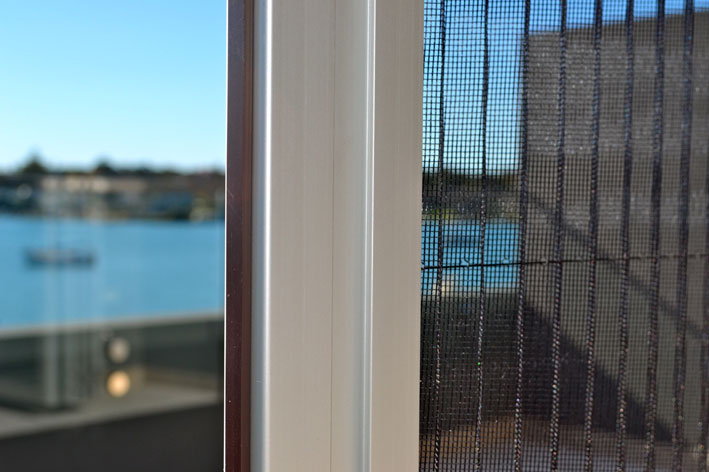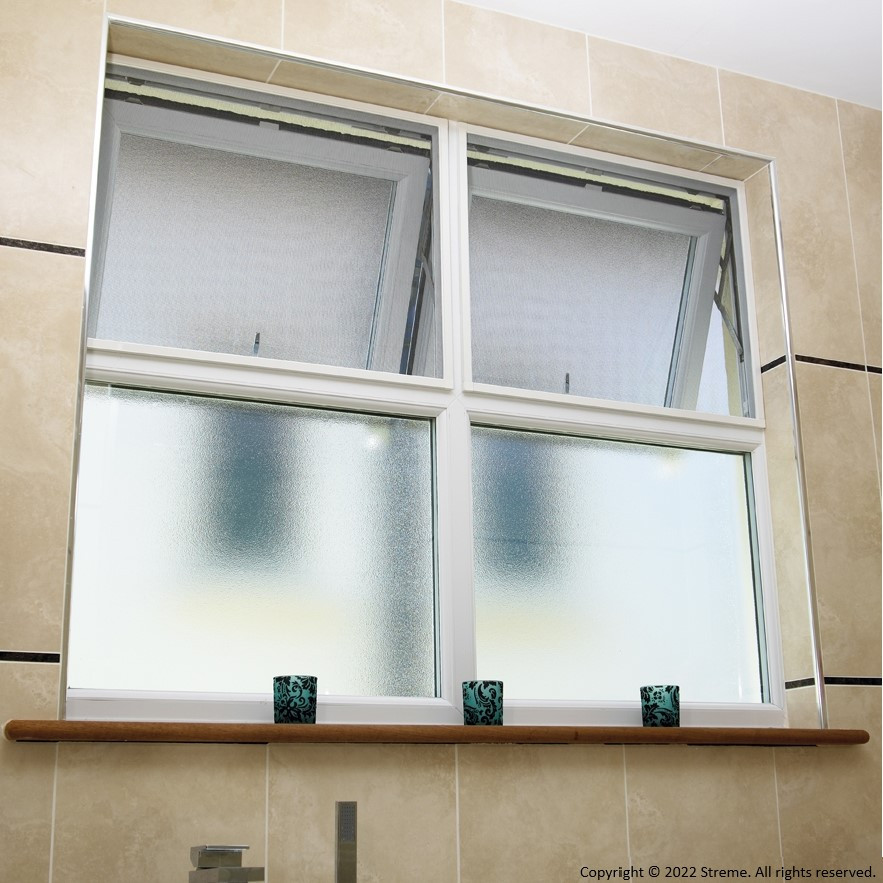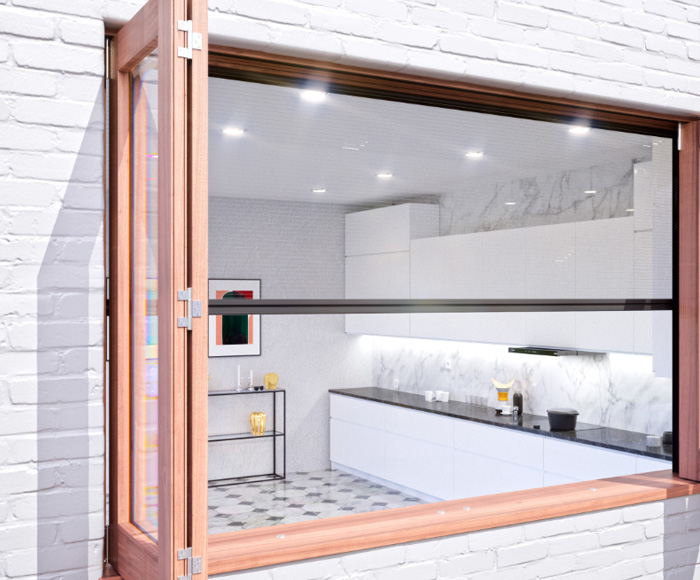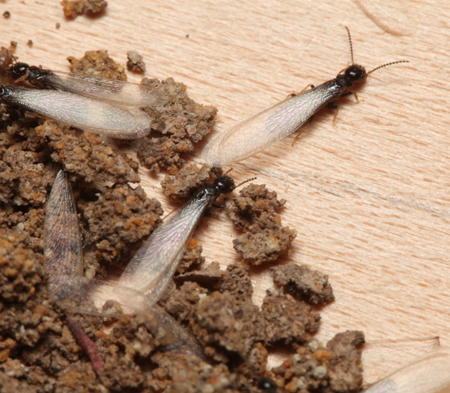
Imagine a summer day with your windows wide open, letting in the fresh breeze—but without the buzzing of flies and the sting of mosquitoes. That’s the magic of DIY fly screens! Creating your own insect barriers is a fantastic way to protect your home, save money, and even add a personal touch to your windows and doors. This guide will walk you through everything you need to know, from choosing the right materials to installing your custom screens.
Why Choose DIY Fly Screens?
There are numerous benefits to making your own fly screens:
- Cost-effective: Pre-made screens can be expensive, especially for custom sizes. DIY options allow you to save a significant amount of money.
- Customization: You can create screens that perfectly fit your windows and doors, regardless of their shape or size.
- Flexibility: You have control over the materials and design, ensuring the screens match your home’s aesthetic.
- Satisfaction: There’s a great sense of accomplishment in creating something yourself.
Materials You’ll Need
Before you begin, gather these essential materials:

- Screen Mesh: Choose from fiberglass, aluminum, or polyester mesh. Fiberglass is affordable and durable, while aluminum offers extra strength.
- Frame Material: Options include wood, aluminum, or vinyl. Wood offers a classic look, aluminum is lightweight and sturdy, and vinyl is weather-resistant.
- Corner Brackets: These hold the frame corners together.
- Retainer Spline: This rubber or vinyl cord secures the mesh to the frame.
- Spline Roller: This tool presses the spline into the frame groove.
- Measuring Tape: For accurate measurements.
- Saw: To cut the frame material.
- Staple Gun or Screws: Depending on the frame material.
- Scissors or Utility Knife: To cut the mesh.
Step-by-Step Guide to Creating Your Fly Screens
1. Measure Your Windows and Doors
Accurate measurements are crucial. Measure the width and height of the window or door opening where the screen will be installed. Add a little extra to account for the frame.
2. Cut the Frame Material
Using your measurements, cut the frame material to the correct lengths. Ensure the corners are cut at a 45-degree angle for a perfect fit.
3. Assemble the Frame

Connect the frame pieces using corner brackets. If using wood, you may also want to use wood glue for added strength. If using aluminum, screws are often the best choice.
4. Attach the Screen Mesh
Lay the frame on a flat surface and place the screen mesh over it. Make sure the mesh extends beyond the frame edges. Using the spline roller, press the retainer spline into the groove of the frame, securing the mesh. Start at one corner and work your way around.
5. Trim the Excess Mesh
Once the mesh is secured, use scissors or a utility knife to trim the excess mesh along the outside of the frame.
6. Install the Fly Screen
Depending on your window or door type, you can install the fly screen using various methods. Options include using clips, hinges, or magnetic strips. For windows, simple clips often work well. For doors, hinges provide a more permanent solution.
Tips for Success
- Choose the right mesh: Consider the type of insects you want to keep out. Finer mesh can block smaller pests.
- Ensure a tight fit: A snug fit is essential to prevent insects from sneaking through gaps.
- Use quality materials: Durable materials will ensure your screens last longer.
- Take your time: Rushing the process can lead to mistakes.

Maintenance and Care
To keep your DIY fly screens in top condition:
- Regularly clean the screens with a soft brush or cloth to remove dust and debris.
- Inspect the mesh for tears or holes and repair them promptly.
- Store the screens properly during the off-season to prevent damage.
Conclusion
Creating your own DIY fly screens is a rewarding project that can significantly improve your home’s comfort. With the right materials and a little patience, you can enjoy a pest-free environment while letting in the fresh air. So, roll up your sleeves and get started on your own custom screens today!


