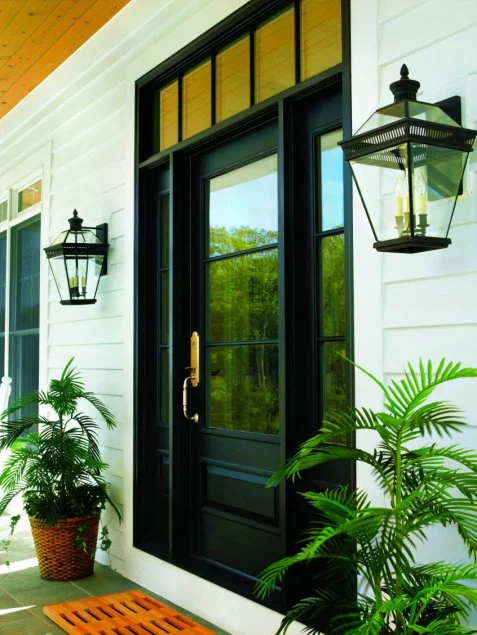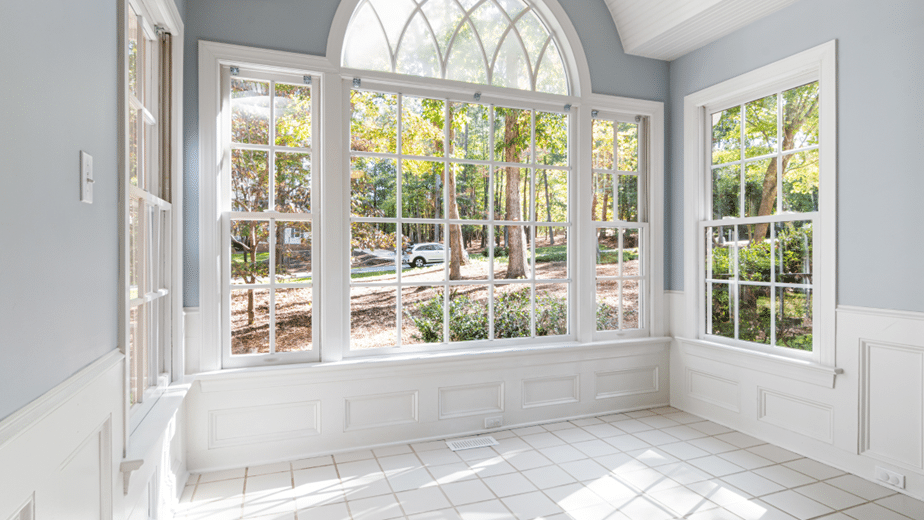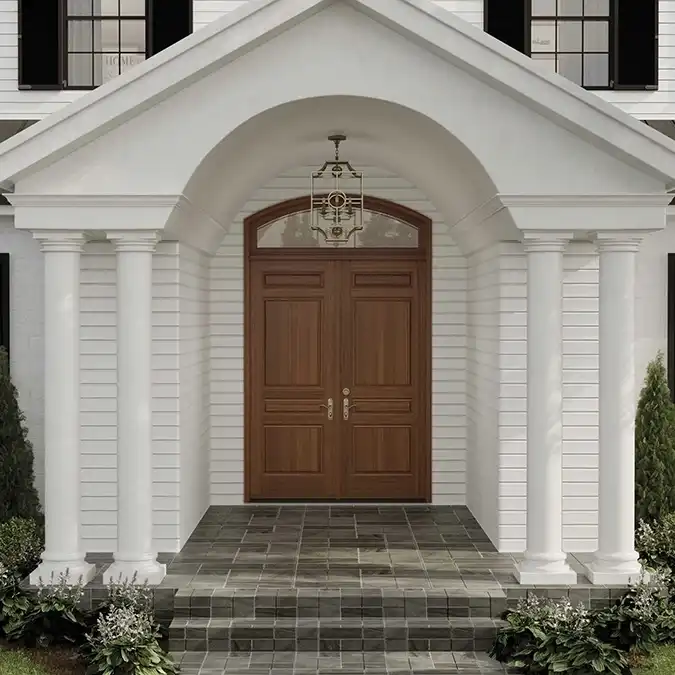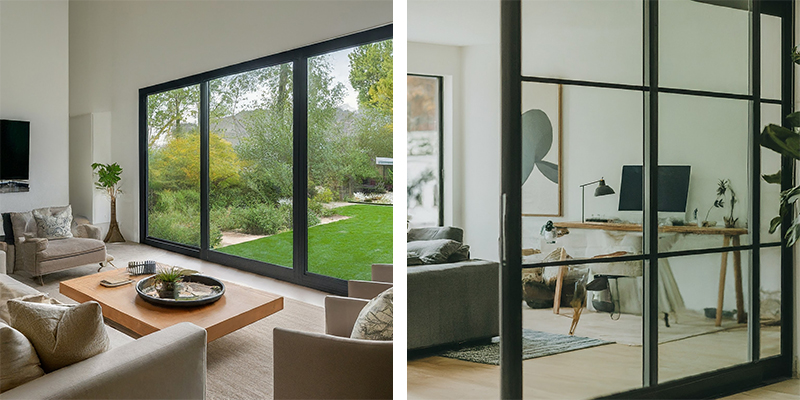
Adding a window to a door can dramatically transform the look and feel of your home. It’s not just about aesthetics; it’s about bringing in natural light, improving visibility, and adding a unique touch to your entryway. Whether you’re a seasoned DIY enthusiast or a homeowner looking to enhance your space, this guide will walk you through the process, from planning to installation.
Why Add a Window to Your Door?
Before we delve into the how-to, let’s explore the benefits:
- Increased Natural Light: Brighten up dark hallways and entryways.
- Enhanced Visibility: See who’s at the door without opening it.
- Improved Aesthetics: Add a stylish focal point to your home.
- Boosted Property Value: Upgrades like these can enhance your home’s appeal.
- Safety: increased visibility can help prevent accidents.
Planning Your Door Window Project
Careful planning is crucial for a successful installation. Here’s what you need to consider:
1. Choosing the Right Door
Not all doors are suitable for window installation. Solid wood or fiberglass doors are generally the best options. Hollow-core doors are not recommended due to their construction.
2. Selecting the Window Type
There are various window styles to choose from:
- Decorative Glass: Adds elegance and privacy.
- Clear Glass: Provides maximum light and visibility.
- Frosted Glass: Offers privacy while allowing light to pass through.
- Beveled Glass: Creates a sophisticated look with angled edges.

3. Determining the Window Size and Placement
Consider the size of your door and the desired amount of light. The placement should be balanced and aesthetically pleasing. Measure carefully and mark the door before cutting.
4. Gathering the Necessary Tools and Materials
You’ll need:
- Safety Glasses
- Measuring Tape
- Pencil
- Circular Saw or Jigsaw
- Drill
- Chisel
- Window Insert
- Screws
- Silicone Caulk
- Wood Filler (if needed)
- Level
Step-by-Step Installation Guide

Follow these steps to add a window to your door:
1. Prepare the Door
Remove the door from its hinges and lay it flat on a stable surface. Mark the desired window location with a pencil and measuring tape. Ensure the measurements are accurate and the window is centered.
2. Cut the Opening
Using a drill, create pilot holes at the corners of your marked area. Carefully cut along the marked lines with a circular saw or jigsaw. Wear safety glasses to protect your eyes.
3. Prepare the Frame
Clean up the edges of the cut opening with a chisel. Ensure the opening is smooth and even. If there are any gaps or imperfections, fill them with wood filler and sand them smooth.
4. Install the Window Insert
Carefully insert the window frame into the opening. Secure it with screws, following the manufacturer’s instructions. Use a level to ensure the window is straight.
5. Seal and Finish
Apply silicone caulk around the window frame to seal any gaps and prevent moisture from entering. Allow the caulk to dry completely. Reinstall the door onto its hinges.
6. Final Touches

Inspect the window for any imperfections or leaks. Make any necessary adjustments. Clean the glass and admire your handiwork.
Design Ideas and Inspiration
Consider these design ideas to enhance your door window:
- Stained Glass: Add a touch of artistic flair.
- Wrought Iron Inserts: Create a rustic or traditional look.
- Custom Grids: Divide the window into smaller panes for a classic appearance.
- Privacy Film: Apply a decorative film to frosted glass for added privacy.
Maintaining Your Door Window
Regular maintenance will keep your door window looking its best:
- Clean the Glass Regularly: Use a glass cleaner and a soft cloth.
- Inspect the Caulk: Check for any cracks or damage and reapply as needed.
- Check the Frame: Ensure the frame is secure and free from damage.
Adding a window to your door is a rewarding project that can significantly improve your home’s aesthetics and functionality. With careful planning and attention to detail, you can achieve professional-looking results. Enjoy the added light and beauty your new door window brings!


