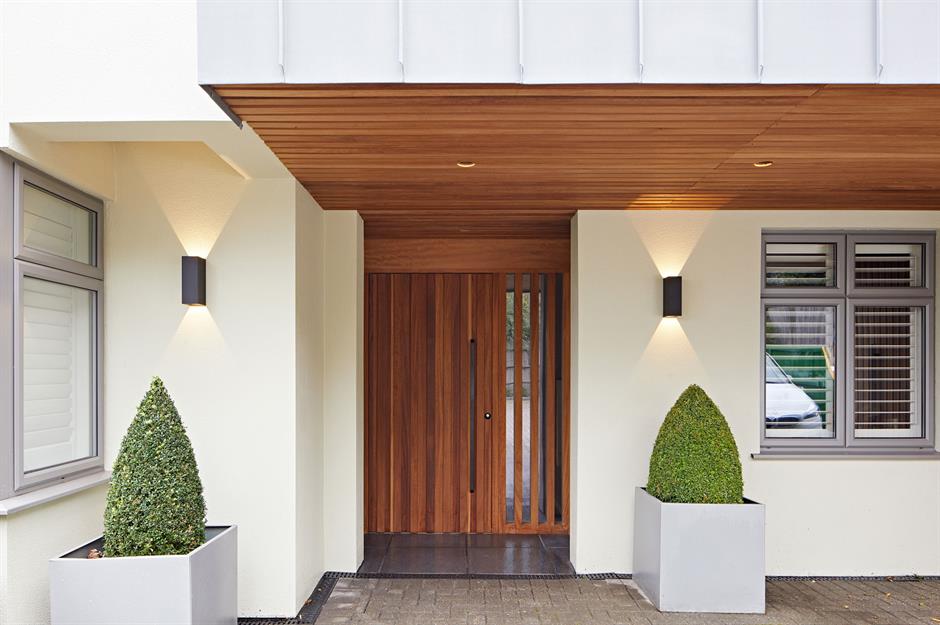
Creating your own door can be a rewarding DIY project, allowing you to customize your home with a unique touch. Whether you need a simple interior door or a sturdy exterior entrance, this guide will walk you through the essential steps.
Planning Your Door
Before you start building, careful planning is crucial. Consider the following:
- Measurements: Accurately measure the door opening.
- Door Type: Decide on the type of door (e.g., panel, slab, French).
- Material: Choose the wood (e.g., pine, oak, mahogany) or other materials.
- Design: Sketch out your design, including any panels, glass inserts, or decorative elements.
Choosing the Right Wood: Consider factors like durability, appearance, and cost. Pine is a popular choice for interior doors, while oak or mahogany are better suited for exterior doors due to their resistance to weather.
Materials and Tools

Gather the necessary materials and tools before starting the construction:
- Wood planks: For the door frame and panels.
- Wood glue: For strong and durable joints.
- Screws and nails: For securing the door components.
- Hinges: To attach the door to the frame.
- Door handle and lock: For functionality and security.
- Saw: Circular saw or table saw for cutting wood.
- Drill: For drilling pilot holes and installing screws.
- Clamps: To hold the wood pieces together while gluing.
- Measuring tape and square: For accurate measurements.
- Sandpaper: For smoothing the wood surface.
- Paint or stain: For finishing the door.
Safety First: Always wear safety glasses and gloves when working with power tools.
Building the Door Frame
The frame is the foundation of your door. Follow these steps:
- Cut the wood: Cut the wood planks to the required lengths for the top, bottom, and side rails.
- Assemble the frame: Lay the pieces on a flat surface and apply wood glue to the joints. Secure the frame with screws or nails.
- Ensure squareness: Use a square to check that the frame is perfectly square. Adjust as needed.
- Add center rails (if needed): For larger doors or panel doors, add center rails for extra support.
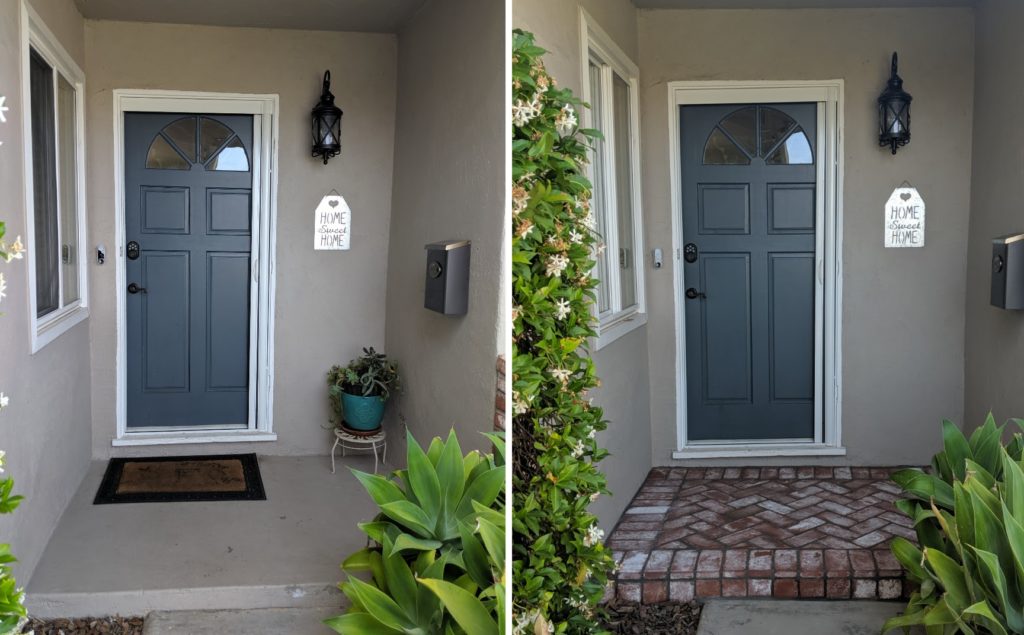
Creating the Door Panels
If you’re building a panel door, follow these steps:
- Cut the panels: Measure and cut the wood panels to fit within the frame.
- Shape the edges: Use a router or molding plane to shape the edges of the panels for a decorative touch.
- Install the panels: Insert the panels into the frame. Secure them with wood glue and small nails or panel retainers.
Slab Doors: If you’re building a slab door, simply cut a single piece of wood to the required size and skip this step.
Finishing and Installation
The final steps involve finishing and installing your door:
- Sand the door: Sand the entire door surface to smooth out any rough edges.
- Apply finish: Apply paint or stain to the door, following the manufacturer’s instructions.
- Install hinges: Attach the hinges to the door and the door frame.
- Hang the door: Carefully lift the door and attach it to the hinges.
- Install hardware: Install the door handle and lock.
- Make adjustments: Check the door’s alignment and make any necessary adjustments.

Weatherproofing: For exterior doors, apply weather stripping to prevent drafts and water damage.
Maintaining Your Door
Proper maintenance will ensure your door lasts for years.
- Regular Cleaning: Clean the door with a mild soap and water solution.
- Check Hardware: Periodically check and tighten any loose hinges or handles.
- Reapply Finish: Reapply paint or stain as needed to protect the wood.
- Lubricate Hinges: Lubricate the hinges to prevent squeaking.
By following these steps, you can create a beautiful and functional door that enhances your home. Happy building!







.jpg)


